
Quick Facts
| Detail | Information |
| Word origin | German — “Naht” (seam) + “Typen” (types) |
| English translation | Seam types / Types of seams |
| Singular form | Nahttyp |
| Used in | Fashion design, tailoring, textile manufacturing, home sewing |
| Why it matters | Determines garment strength, comfort, durability, and appearance |
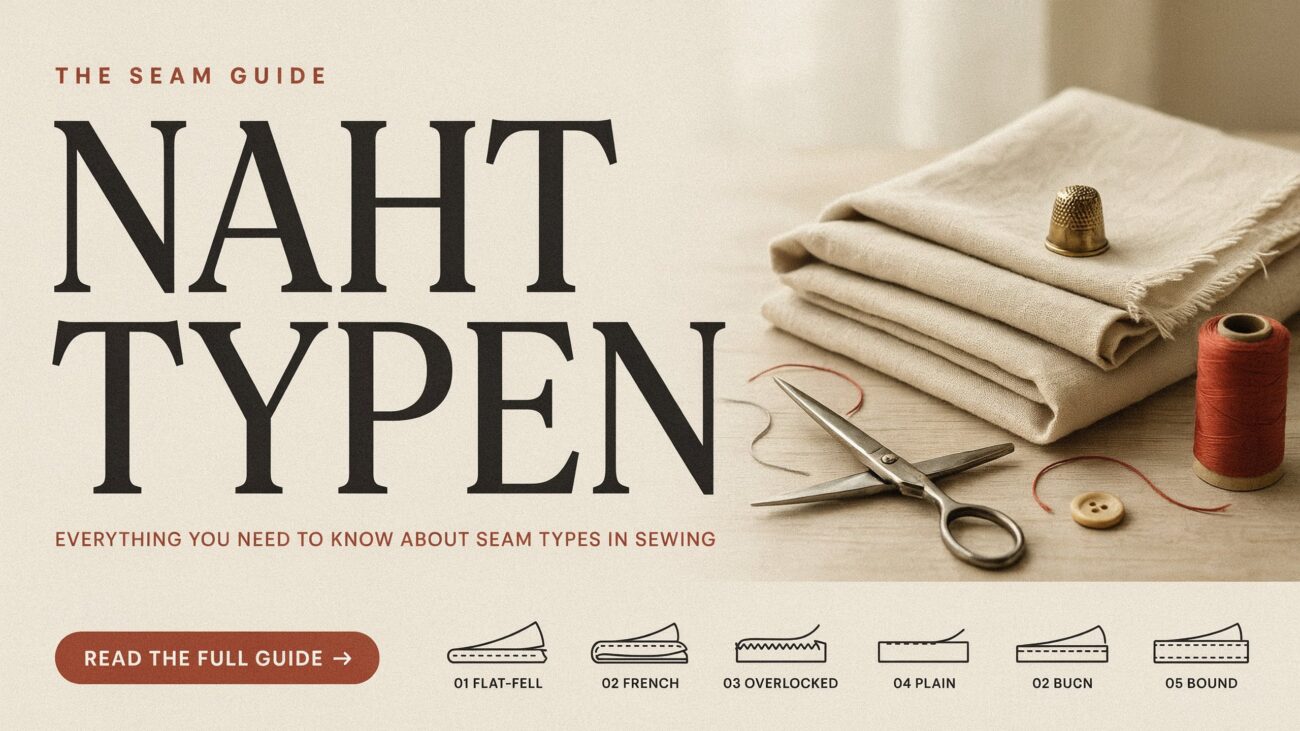
| Most basic seam | Plain/straight seam (Flachnaht) |
| Strongest seam | Flat-felled seam (used in jeans and workwear) |
| Most elegant seam | French seam — clean on both sides |
| Best for stretch fabrics | Overlock (serger) and zigzag stitches |
| Standard seam allowance | 1–1.5 cm (varies by project and seam type) |
| Best thread for natural fabrics | Cotton thread |
| Best thread for synthetic fabrics | Polyester thread |
| Needle size for silk/chiffon | Size 9–11 |
| Needle size for denim/canvas | Size 16–18 |
| Hand vs. machine | Both have a place — machines for speed, hands for detail |
The Word That Changed How I Think About Clothes
I’ll be honest with you. I used to look at a shirt and think about the fabric, the color, maybe the fit.
I never thought about the seams.
Then someone asked me to look at the inside of a well-made jacket. I turned it inside out and just stared. Every edge was finished. Every join was clean and deliberate. Nothing was fraying. Nothing was messy. Every single seam had been chosen on purpose.
That’s nahttypen. And once you understand it, you can’t look at clothing the same way again.
See also “Juntos Seguros: What It Is, How It Works, and Why So Many Families Depend on It“
What Nahttypen Actually Means
The word is German. “Naht” means seam. “Typen” means types. Put them together and you get “seam types.”
Simple enough. But the concept it covers is enormous.
A nahttyp is any method you use to join two or more pieces of fabric together with thread. Different methods create different results. Some seams are nearly invisible. Some are built to survive decades of heavy use. Some exist purely because they look beautiful.
Every piece of clothing you own — every shirt, pair of jeans, dress, jacket, or coat — has been assembled using specific choices about which seam type to use and where. Those choices affect how long your clothes last, how they feel against your skin, and whether they hold their shape after a hundred washes.
Most people never learn this. Sewers who do learn it immediately produce better work.
Why Seam Choice Matters More Than You’d Think
Here’s a real scenario. Someone spends an entire weekend making a dress. They choose beautiful fabric, follow the pattern carefully, press every piece, and sew it all together with straight stitches from start to finish.
They wash it twice and the seams start pulling. Edges fray. The fabric along the joins stretches out of shape. The dress dies within a month.
The problem wasn’t the fabric. It wasn’t the pattern. It was the seam type. Straight stitches on a fabric that stretches will pop under pressure. Every time.
The right seam choice prevents that entirely. That’s the lesson nahttypen teaches you.
The Straight Seam — Where Everyone Starts
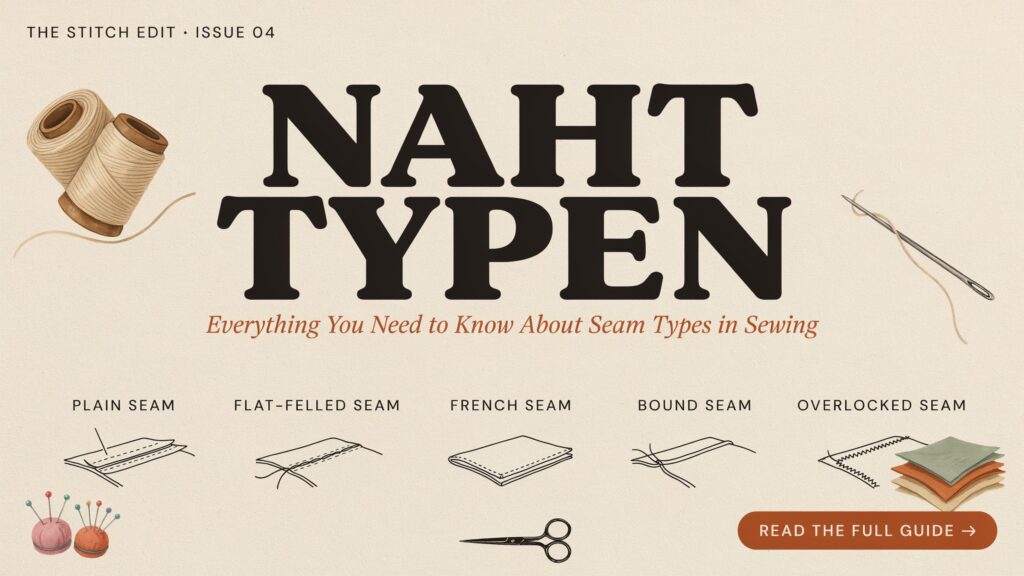
The most common seam in sewing is the plain flat seam, sometimes just called the straight seam.
You lay two pieces of fabric together with the right sides facing each other. You sew along the edge at a standard distance — usually 1 to 1.5 centimeters from the edge. Then you press the seam open so both sides lie flat.
This seam works beautifully on woven fabrics that don’t stretch. Shirts, skirts, curtains, pillowcases, tote bags — the straight seam is everywhere. It’s clean, it’s fast, and it’s the foundation every beginner builds on.
Stretching is the one thing it cannot do. If your fabric has any elasticity, a straight seam will snap under pressure the first time someone moves normally.
The French Seam — Elegance Hidden on the Inside
The French seam is one of those techniques that genuinely makes you feel like a better sewer the first time you try it.
Here’s the idea. You sew the fabric together with the wrong sides facing first. Then you trim the seam allowance very close — maybe just a few millimeters. Next, you sew a second seam that fully encloses the first one after flipping the fabric so that the right sides are now facing.
The result: a seam that looks clean on both the inside and the outside. No raw edges anywhere. No fraying possible. The fabric’s cut edges are completely hidden inside the seam itself.
French seams are used on delicate fabrics — silk, chiffon, light linen — where you want the inside of the garment to look as refined as the outside. Blouses, lingerie, and light summer dresses benefit enormously from this treatment.
The downside is that French seams require a little more time and care. They’re not the right choice for heavy, bulky fabrics where the double seam thickness would be uncomfortable.
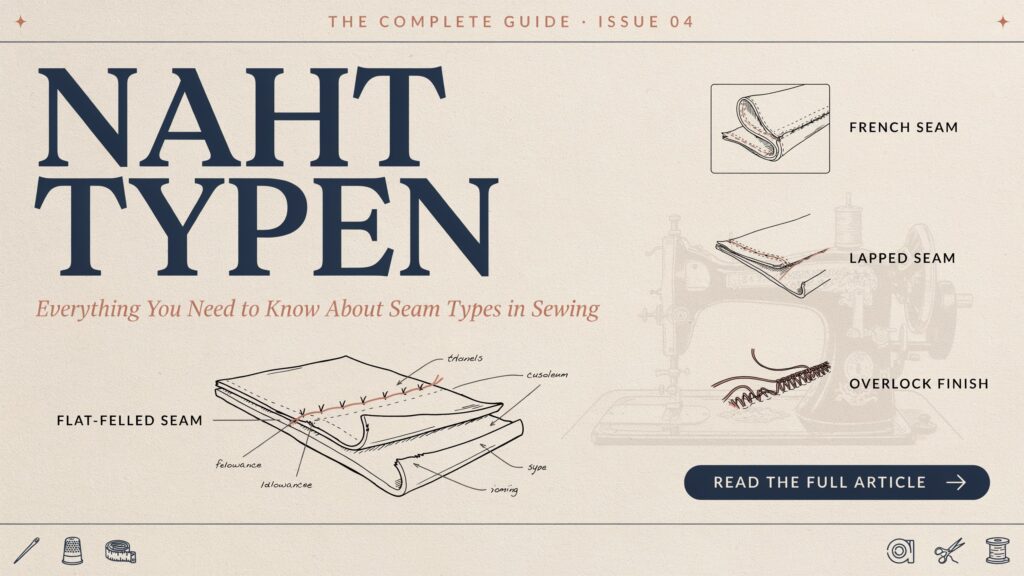
The Flat-Felled Seam — Built for Survival
If you own a pair of jeans, look at the outer seam running down your leg. You’ll see two parallel rows of stitching on the outside, with what looks like a folded edge between them.
That’s a flat-felled seam. And it is almost impossible to tear open.
The technique involves sewing two fabric pieces together, then folding one seam allowance over the other, tucking everything flat, and stitching it all down with two lines of topstitching. The result is completely flat on both sides, with no raw edges exposed at all.
Flat-felled seams are the standard choice for workwear, jeans, outdoor clothing, uniforms, and any garment that needs to survive serious physical stress over many years. The strength comes from the layering and double stitching — there are simply more thread lines holding the seam together than in any other type.
The trade-off is complexity. This seam takes patience and precision. Getting the fold even and the topstitching straight takes practice. But when it’s done well, it looks sharp and holds forever.
The Overlock Seam — The Modern Fast Finish
If you’ve used a serger machine, you already know this one.
An overlock stitch simultaneously sews the seam AND trims and wraps the raw edge in a single pass. The result is a neat, enclosed edge that won’t fray and can stretch without breaking.
Overlock seams are the backbone of knitwear and stretch fabrics. T-shirts, leggings, sportswear, swimwear — almost all of these are constructed using overlock stitches. The stretchy loops created by the overlock can flex with the fabric, which is why your athletic gear survives jumping, bending, and washing without the seams popping.
Without a serger machine, a zigzag stitch is the closest alternative. Zigzag stitches allow the seam to flex and can be used along raw edges to prevent fraying.
Not everyone has a serger, and that’s fine. A zigzag stitch on a standard sewing machine handles most stretch fabric projects effectively.
The Welt Seam and the Lapped Seam — Structure and Style Together
These two seam types are used when the seam itself becomes part of the garment’s visual design.
A welt seam is created by pressing the seam allowance to one side and adding a line of topstitching that anchors it in place. The stitch line is visible on the outside of the garment. Welt seams are frequently used on shirts, coats, and fitted jackets where a precise, clear stitch line gives the silhouette rigidity and definition.
A lapped seam places one fabric edge directly on top of another, overlapping them, and secures both with a single row of stitching through all layers. Lapped seams show on the outside but create a very flat, minimal seam that works well on heavy fabrics where you want to reduce bulk.
Both of these seams make the technical construction part of the aesthetic. In tailoring, this kind of choice separates a garment that looks handmade from one that looks considered.
The Bound Seam — The Beautiful Edge Finish
A bound seam takes a completely different approach to seam finishing.
Instead of folding, trimming, or enclosing seam allowances inside the garment, a bound seam wraps the raw edge in a separate strip of fabric, ribbon, or bias tape. The binding is folded around the raw edge and stitched down, creating a visible, finished edge that’s part of the design.
Bound seams appear frequently on unlined jackets and coats, where the inside of the garment is visible and the construction details should look intentional. They also appear on quilts, bags, and structured accessories where a clean internal finish matters.
The choice of binding fabric is itself a design decision. A contrasting color or printed bias tape turns a technical necessity into a decorative feature.
The Decorative Seam — When Stitching Becomes Art
Not every seam needs to be hidden. Some are meant to be seen.
Decorative stitches — embroidery stitches, herringbone stitches, whip stitches — are used to add visual interest on top of a garment or as the visible element of an accent seam. These stitches have been used for centuries in folk clothing, embroidered costumes, and high fashion alike.
Decorative seams appear on appliqué work, visible mending techniques, and garments where the sewist wants to turn function into art.
This category is where sewing becomes deeply personal. The technical requirements fall away. What remains is expression.
Hand Sewing vs. Machine Sewing: When Each One Wins
Most modern garments are constructed almost entirely by machine. Machines are fast, consistent, and capable of maintaining even stitch length across meters of fabric.
But hand sewing still has an irreplaceable role.
Hand stitches like the blind hem stitch — where thread is caught only in a single thread of the outer fabric — create hems so invisible that even careful inspection can’t find them. This is impossible to replicate by machine on delicate fabrics.
The slip stitch is used to close gaps in seams from the inside — securing lining to fabric or closing stuffed items — in a way that looks completely seamless from the outside.
The running stitch, backstitch, and basting stitch all serve specific preparatory and constructive roles that experienced sewers choose deliberately over machine alternatives.
The best approach: use a machine for speed and structural seams, and hand sewing for finishing, detail work, and the stitches that require invisible results.
Needles, Thread, and the Tools That Make Nahttypen Work
Even perfect seam choice falls apart if you use the wrong needle or thread.
Needle size should match your fabric weight. Delicate fabrics like silk or chiffon need fine needles — size 9 to 11. If the needle is too large, it punches holes in the fabric that are visible even when stitched.
Heavy fabrics like denim, canvas, and leather need needles in the size 16 to 18 range. Too small a needle will break or skip stitches.
Thread choice follows the same logic. Cotton thread is the natural partner for linen, cotton, and other plant-based fabrics — it moves the same way as the fabric during washing. Polyester thread works on synthetic fabrics and holds up under stretch. Silk thread is reserved for luxury fabrics where even the thread should feel luxurious.
Using cotton thread on polyester fabric — or vice versa — creates tension mismatches that cause seam puckering and premature breakdown.
The Nahtzugabe: Seam Allowance Explained
One more term worth knowing: Nahtzugabe.
This is German for seam allowance — the extra fabric left beyond the seam line that gives you room to sew without running out of fabric.
Standard seam allowance is 1 to 1.5 centimeters for most garment seams. French seams need slightly more initial allowance to accommodate the two-stage process. Flat-felled seams need extra allowance on one side to fold over the other.
Beginners frequently skip pressing seam allowances open after sewing. This is one of the biggest mistakes in home sewing.
A pressed seam lies flat and creates a professional finish. An unpressed seam bunches up under the fabric and creates visible ridges. The iron is not optional — it’s the second half of every seam.
Common Mistakes and How to Avoid Them
Puckering happens when thread tension is too tight or when the stitch type doesn’t match the fabric’s behavior. The fabric bunches along the seam line instead of lying flat. First, try on a scrap piece after releasing the machine tension.
Fraying happens when raw edges aren’t finished. Overlock them, zigzag them, or use pinking shears to create a zigzag cut edge that resists unraveling.
On stretch fabrics, broken stitches almost always indicate that a straight stitch was used in place of an overlock or zigzag. Stretch fabrics need stretch stitches — no exceptions.
Sewing the wrong sides together is something everyone does at least once. Always check which side is the right side before you sew. Light and shadow fall differently on most fabrics, making the sides distinguishable once you know what to look for.
Final Words
Nahttypen is a technical word. But what it teaches is very human.
Every piece of clothing someone wore, every bag they carried, every blanket they slept under — all of it was assembled one seam at a time, by a person who chose how to make it hold together.
Learning which seams to use, and when, is the difference between something that falls apart after a season and something that gets passed down because it simply refuses to wear out.
You don’t have to master all of them at once. Start with the straight seam. Try a French seam on something delicate. Learn what a zigzag does to stretch fabric. Each one teaches you something different.
The clothes we make by hand carry something extra that the factory ones don’t. They carry the attention we gave them. And the seams are where that attention shows.
FAQs
Q1: What does “nahttypen” mean?
It’s a German word that translates to “seam types” in English. It refers to all the different methods used to join fabric pieces together using stitches, in both hand sewing and machine sewing.
Q2: What is the most basic nahttyp for beginners?
The plain straight seam — also called the flat seam. You join two fabric pieces with right sides together, stitch along the edge, and press the seam open. It’s the foundation of almost all sewing projects.
Q3: What is the strongest seam type?
The flat-felled seam. It uses double rows of topstitching and folds the seam allowance inside itself completely. This is why it’s used in jeans, workwear, and outdoor gear that needs to survive years of heavy use.
Q4: Which seam should I use for stretch fabrics like jersey or spandex?
Always use an overlock stitch or a zigzag stitch. Straight stitches will break the first time the fabric stretches. Overlock stitches move with the fabric, which is why T-shirts and sportswear are made with them.
Q5: What is a French seam and when should I use it?
A French seam encloses both raw edges inside the seam so nothing is exposed. Use it on delicate fabrics like silk, chiffon, and fine linen — especially when the inside of the garment should look as clean as the outside.
Q6: What is seam allowance (Nahtzugabe)?
It’s the extra fabric left beyond the seam line — typically 1 to 1.5 centimeters. It gives you material to work with when sewing and allows for adjustments. Different seam types require different amounts.
Q7: Does needle size really matter?
Yes, significantly. Too large a needle on delicate fabric punches visible holes. Too small a needle on heavy fabric breaks. Match needle size to fabric weight: size 9–11 for silk and chiffon, size 16–18 for denim and canvas.
Q8: What’s the difference between a welt seam and a flat-felled seam?
A flat-felled seam folds the seam allowance over itself and stitches it completely flat — it’s primarily structural. A welt seam presses the seam allowance to one side and adds visible topstitching — it’s structural but also decorative.
Q9: Do I need a serger (overlock machine) to sew knit fabrics?
No. A regular sewing machine with a zigzag stitch works for most stretch fabrics. A serger is faster and creates a more professional finish, but it’s not required for home sewing.
Q10: Why does my seam pucker even when I sew carefully?
Usually it’s thread tension. If the tension is too high, the thread pulls the fabric in. Also check that your stitch type matches your fabric — stretch fabrics puckering under straight stitches is very common.
Q11: When should I sew by hand instead of using a machine?
For invisible hem finishing, closing seams from the inside, delicate hand-embroidery, and any detail work where a machine’s stitches would be too visible. Machines handle construction; hands handle refinement.
Q12: What thread should I use for natural fabrics vs synthetic fabrics?
Cotton thread for natural fibers (cotton, linen, wool) — it behaves the same way as the fabric during washing. Polyester thread for synthetic fabrics — it handles stretch better. Using mismatched thread causes tension problems and premature seam failure.
Q13: What is a bound seam and where is it used?
A bound seam wraps the raw edge of a seam in a separate strip of fabric or bias tape, finishing it with a visible binding. It’s used on unlined jackets and coats where the inside is visible, on quilts, bags, and any project where a clean, often decorative internal finish is important.
Keep creating, innovating, and inspiring with Content Ideators every day.